There’s no need to panic if lamp isn’t working well! There are some simple solutions available to you that can be done without investing in a new lamp. For this guide, we will demonstrate five easy steps on how to perform "lamp surgery. Micare will all help you do this, and bring some light to your lamp Life will illuminate again with light. Let’s get started! If your lamp won’t turn on, the issue could be the cord. The lamp may stop working from time to time sometimes the cord may get damaged or broken. To remedy this situation, you’ll want to have a new lamp cord, scissors, and electrical tape on hand. First, be certain to disconnect the lamp from the wall outlet. This is really critical for your safety! Then, grab your scissors and cut the old cord off of the lamp. They say, "Watch out for the scissors!" Now you can do the opposite, taking the surgical headlamp and connecting it to the lamp. You will have to twist (very gently) the exposed droplets of wire. Then, use electrical tape to keep the twisted wires from coming apart. Finally, plug the lamp back in and see if it works. If it does, congratulations! You've successfully repaired that broken lamp cord and your lamp is ready to shine!
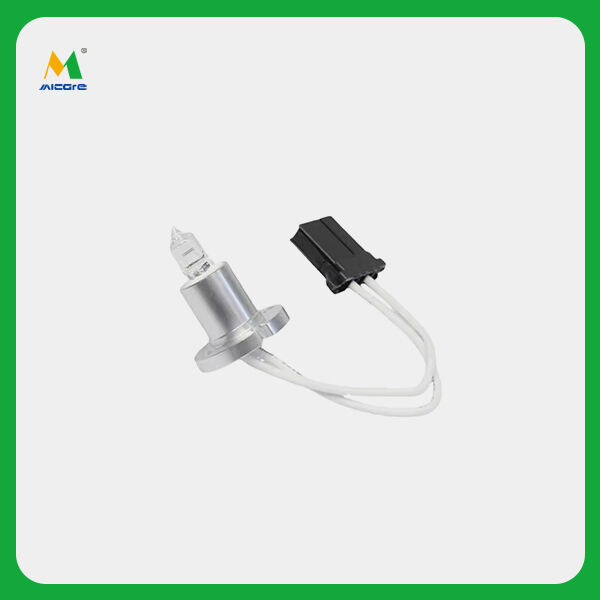
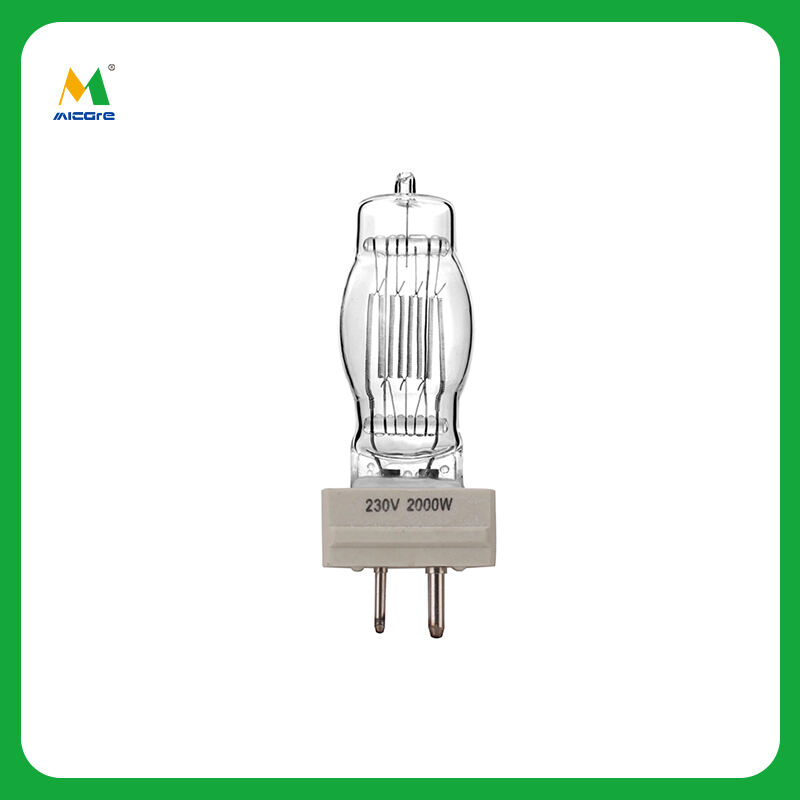
Your lamp may be on, but if the light isn't shining the lightbulb might need to be replaced. This is actually a common issue and a super easy fix! You have one lightbulb and we assume you have to replace it with a new one. The first step is to unplug the lamp, and allow it to cool if it was turned on. This is in order to not get burned. Once it has cooled, gently twist the old lightbulb out of the socket, turning it counterclockwise. Be gentle, so you don’t break it! Then, with the surgical lamp, insert it into the socket gently, twisting it clockwise until it is tight and secure. Lastly, plug in the lamp and switch it on to ensure the new lightbulb functions. If it lights up, awesome! You can now take that burnt-out lightbulb, the big old light switch there and replace it with something that makes your lamp shiny and operable again.
If you have an aging or antique lamp that is not working anymore because its wiring has degraded, you can get it to work again by replacing the wiring. Great way to keep your unique lamp being used! To accomplish this, you will require a new lamp wiring kit, wire strippers and a screwdriver. To do so, first make sure that you are unplugging the lamp from the wall. Next, you must unscrew the old wiring from the surgery lamp. Be cautious during this step because you do not want to damage the rest of the assembly. Then, follow the instructions enclosed with the wiring kit to install the new wiring. Pay special attention to how the new wiring should be connected. Tightening all the connections using the screw driver. Finally, plug the lamp in to check if it works. If it does, wonderful! Congratulations, you have rewired your vintage Lamp and she can now glow in style!
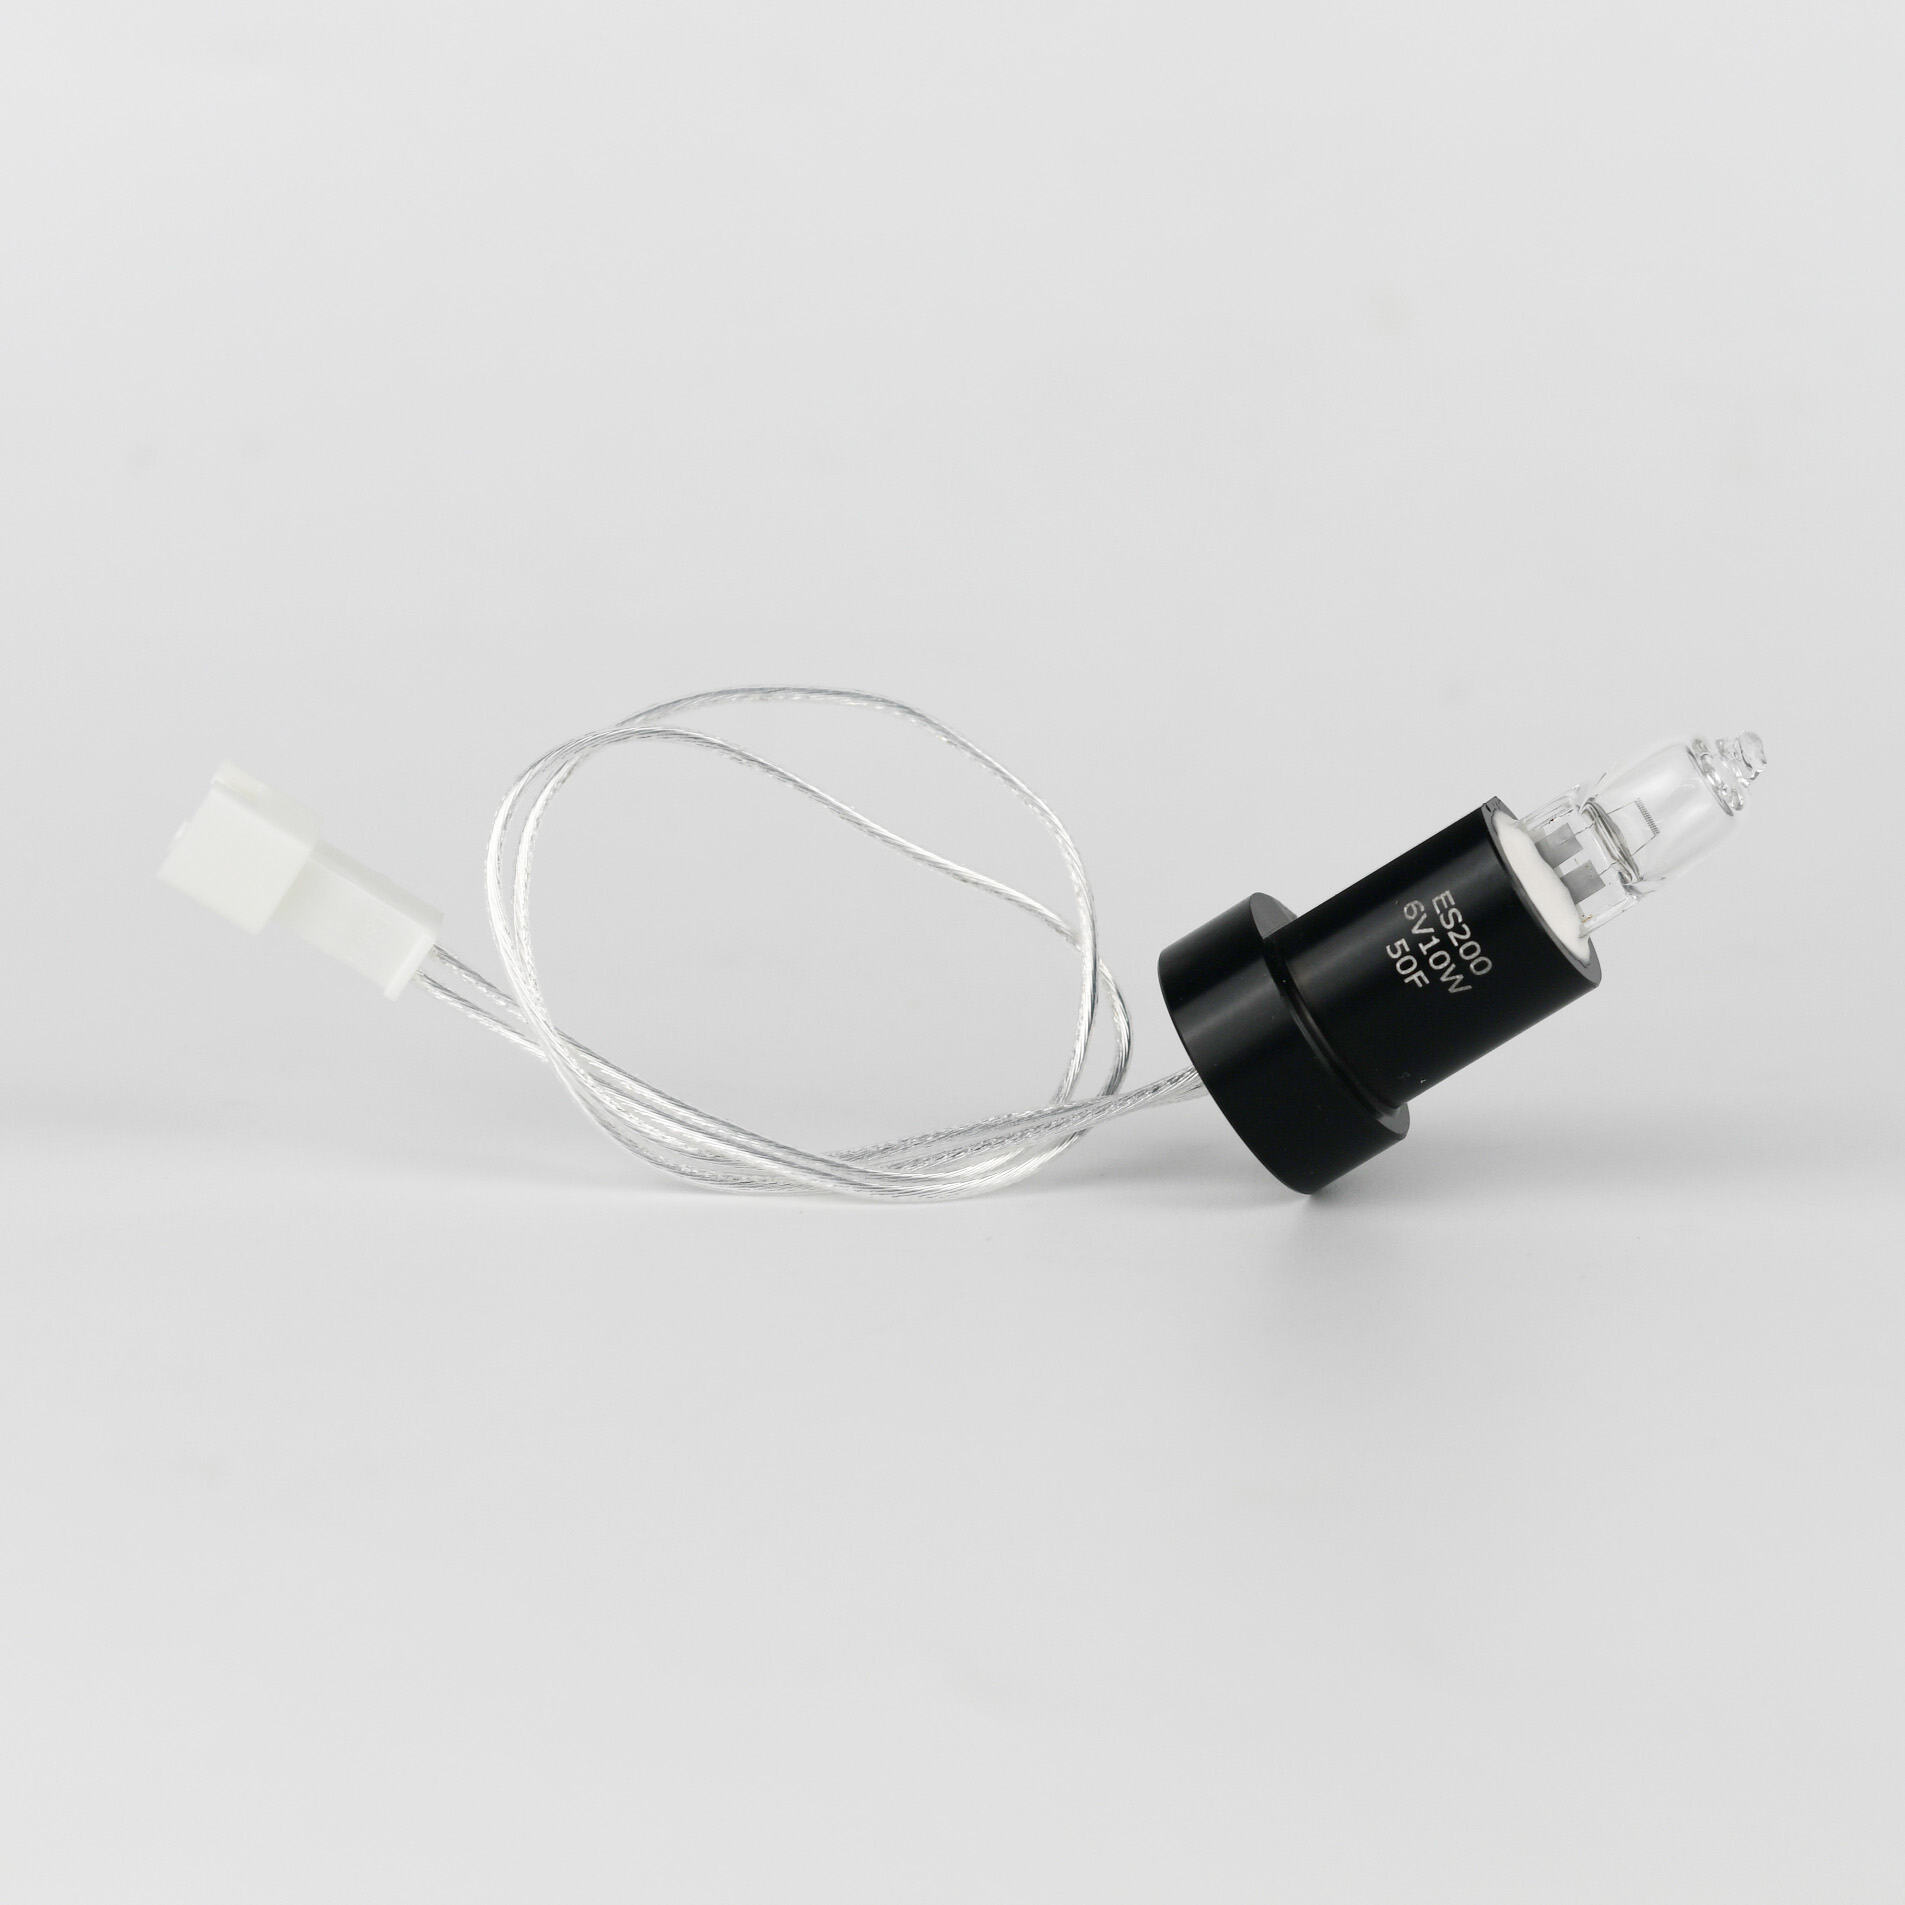
If the socket of the lamp is faulty or broken, then you can replace the lamp’s socket with the new one to upgrade it. This is another simple fix! To do so, you’ll need a new lamp socket, wire cutters, and a screwdriver. Make sure to safety first unplug the lamp! Then, gently unscrew the old socket from the medical head lamp. It will require some effort, but be patient! After removing the existing socket, the new socket comes with installation instructions which you should follow. Ensure that the wires are secured into the correct terminals and that the screws are tightly secured. Which helps keep everything safe and in place. Finally, insert the lamp in the socket to see if it works. If it does, fantastic! And there you have it! You've upgraded your lamp with a new socket and it should be good to go!
You can completely restore the lampshade on your lamp with a little effort and imagination if the one you have is torn or has stains. You will also require fabric glue, scissors, and replacement fabric if required. First, use your scissors to carefully trim away damaged portions of the lampshade. Be cautious because you don’t want to cut too deep! Next, press together any loose edges or pieces and glue them. If the damage is too extensive, consider re-covering the entire lampshade with fresh fabric. Cut the new fabric to size, then use the glue to secure it to the surgical lamp light, smoothing it down as you go to eliminate any wrinkles. This will make it pleasing and neat. Lastly, once the glue is dry, replace the lampshade on the lamp. If it’s an eye pleasing sight, a round of applause for you! Congratulations, you have restored your damaged lampshade and your lamp is beautiful again!
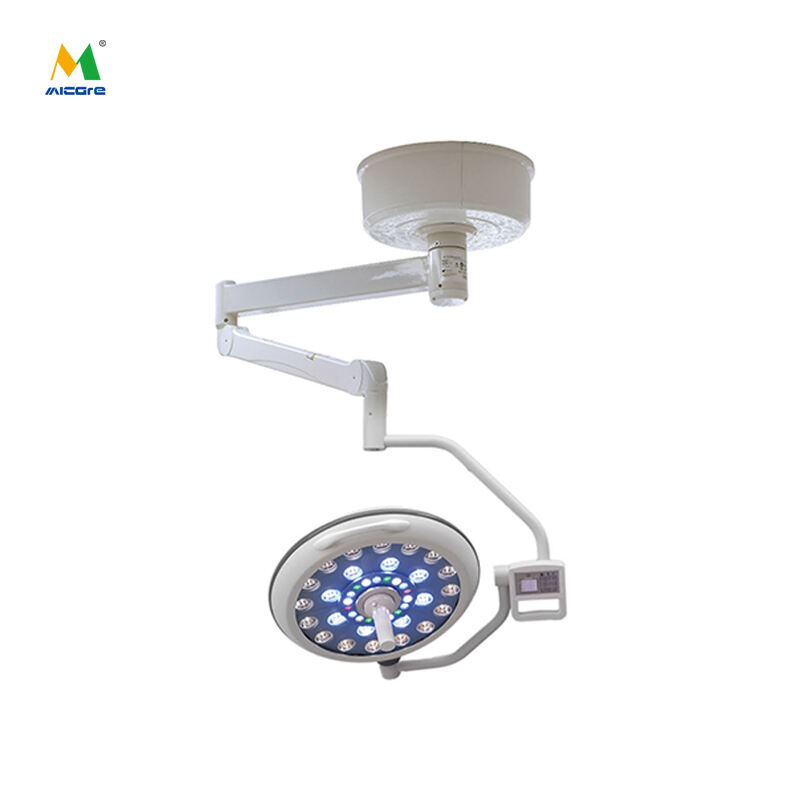
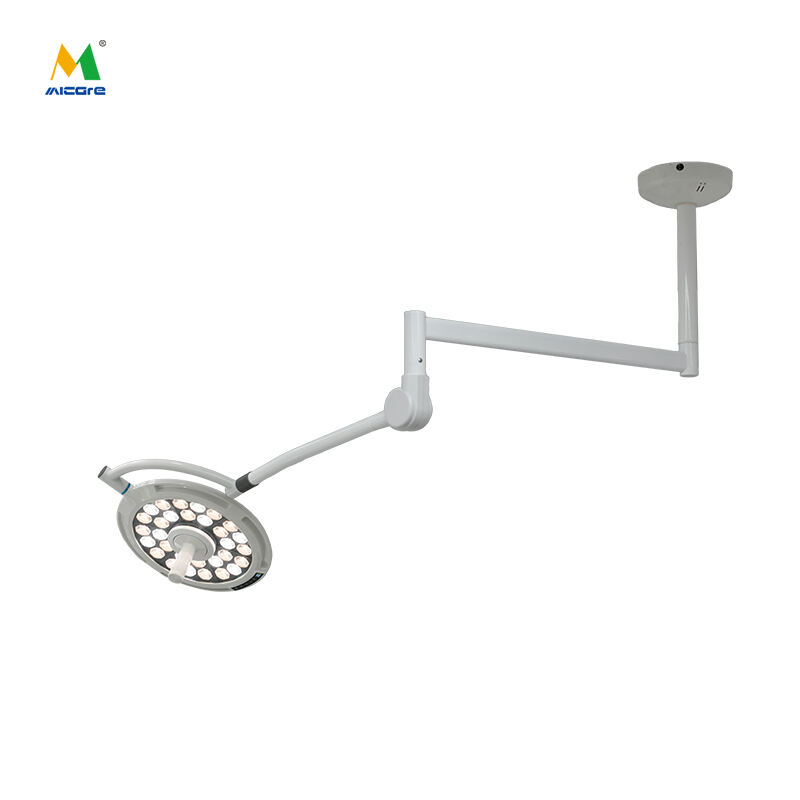
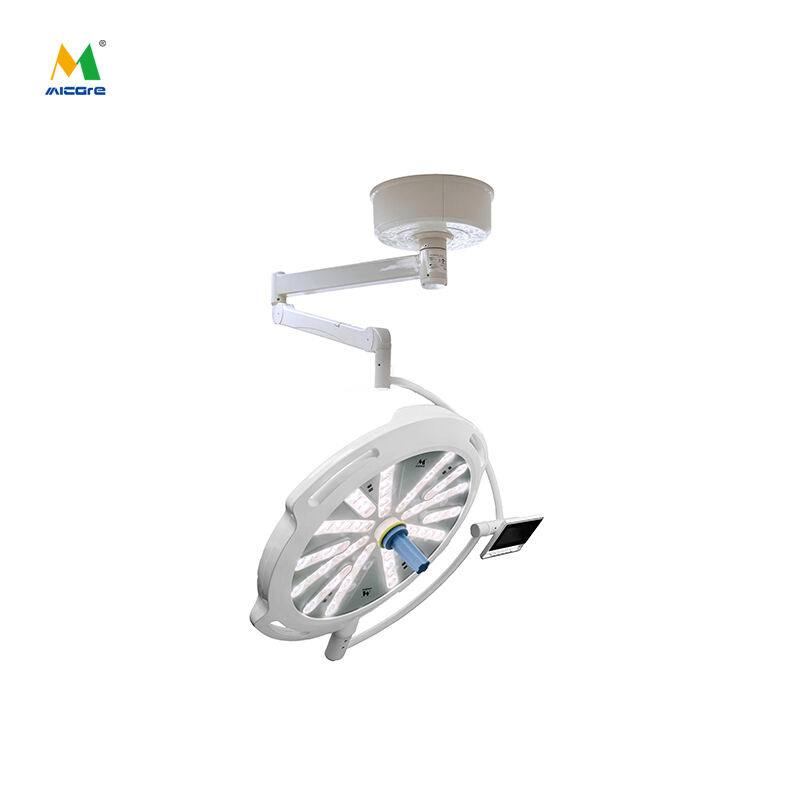
Nanchang MICARE Medical Equipment Co, Ltd a manufacturer with focus the medical Lamp surgery for more than 20 years that has a skilled R D Team Quantity Check Team. MICARE offers 7 product lines that include more than 50 models over 400 varieties spare bulbs parts.
continuous pursuit innovation MICARE has brought us numerous quality certificates, including ISO-9001/13485 European CE, FDA of the USA, as meeting the IEC safety standards. Additionally, MICARE have a set Lamp surgery strict quality management system in line with CE ISO standard. MICARE designated an "high technological enterprise within province Of Jiangxi Province".
Nanchang MICARE Medical Equipment Co, Ltd has been leading manufacturer in field medicine Lamp surgery than 20 years. It has experienced R D Team as well as Quantity Check Team. MICARE offers 7 product lines that include over 50 models and more than 400 different spare bulbs parts.
MICARE provide service more than 20000 customers across globe and exports to more than 100 countries. top nations include USA, Mexico, Italy, Canada, Turkey, Germany, Spain, Saudi Arabia, Malaysia Thailand. It Lamp surgery long term stable partnerships with a variety of logistics express companies, to ensure the rapid and timely delivery.